Increase productivity, create consistency and reduce errors by creating workflows for your team.
To Start a New Workflow:
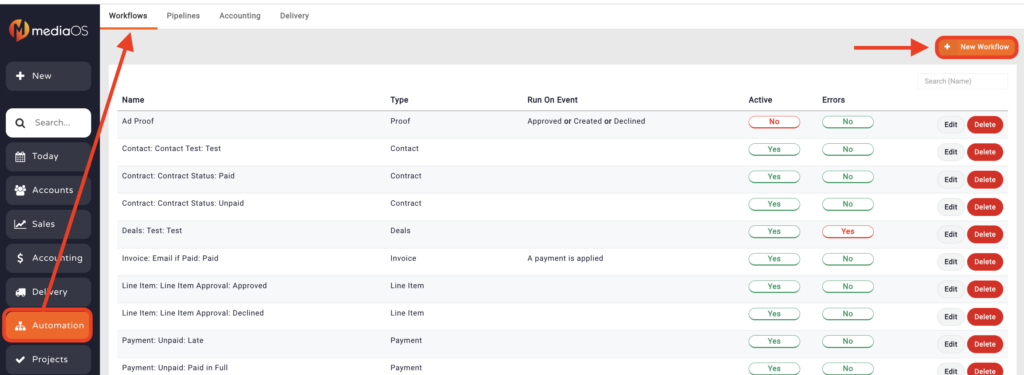
- Click Automations on the left hand menu.
- Click Workflows in the top menu.
- Click + New Workflow in the top right corner.
- On the next screen, click the dropdown menu to select what you’d like to start the workflow.
Example of a Common Workflow
Email Customer when a Contract Is Set to Won:
- From the + New Workflow page.
- Select Contract from the Workflow Event drop down menu. This determines when the system will start your workflow.
- On the next screen, click the drop down menu and choose Set to Won.
- Click Save.
- Add your next step to your workflow by selecting the + sign at the bottom of your workflow event. A window will pop up on the right hand side of your screen entitled ADD A STEP.
- On the pop up on the right, choose Customer Email.
- Click on the words Customer Email to edit the step.
- In the pop up on the right, fill in the information below:
- Description — This lets you label the email. Ex. Contract Won Email.
- Send to Email — This determines which email on the account the email will be sent to. In this case, choose Contact Sold To.
- Template — Here you can choose a pre-made email template or create a new one. [See article for more information on email templates.]
- Once you’ve filled in the information, click Save.
- Click Activate in the top right corner.
Now everytime a contract is set to won in MediaOS your customer will receive the templated email!

The possibilities are endless and it just takes some trial and error to get your workflows perfect!